I’ve made another craft this week, I’ve upped the difficulty level just a hair but you’ll find that just a little extra time will make a beautiful bag. Created from the remnant bin once again, you’ll need only 1 yard of fabric! Eco-friendly and beautiful, I made this lunch bag from Marimekko’s Bo Boo fabric. Designed by Katsuji Wakisaka in 1975, primary colored cars, trucks and busses zoom across the white fabric adding childlike exuberance to your afternoon meal. Of course, you can use any pattern from our fabric selection at FinnStyle for this project!
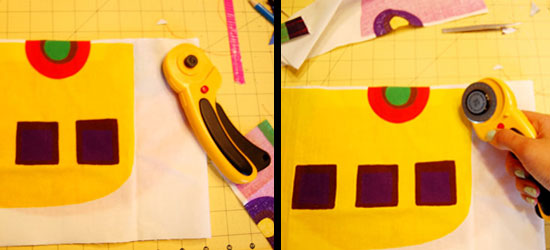
Step 1: Cut the fabric. You should be cutting 3 different pieces:
-One front & bottom piece: 20” L x 8” W (cut on the fold)
-Two side pieces: 12” L x 6” W
-Two handle pieces: 20” L x 4-1/4” W

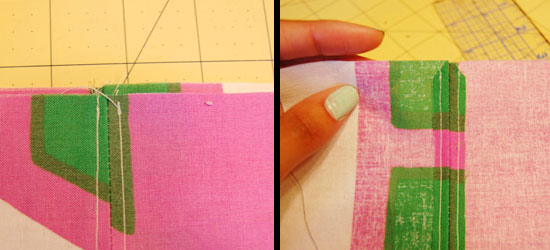
Step 2: Sewing the sides. First, cut one of the side pieces in half lengthwise. This will allow the bag to easily fold in half when it’s not in use. Once its cut, sew (right sides together) the halves to create a whole piece again. Press seams. After pressing, sew the seams down. Use the seam as your guide and sew ¼” from the seam…not only will this re-enforce the seam but it gives the bag a finished look. Repeat with the other side piece.
Step 2 – Cut side pieces in half
Step 2 – Lining up/sewing the seams
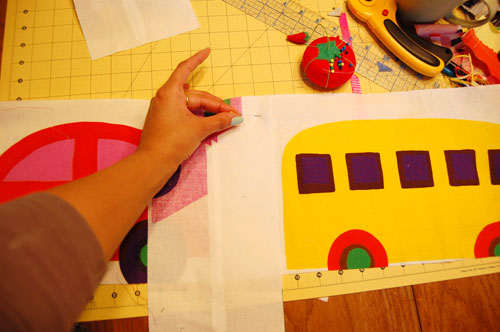
Step 3: Sewing the sides to the bottom. First, press the front/bottom piece in half widthwise. With the right sides together, unfold the front/bottom piece and match the center seams of the side pieces with the center crease you just made and pin. See picture for clarification. Once pinned, sew the sides to the bottom of the bag.
Step 3 – Pinning the Sides
Step 3 – Sewing the sides to the bottom
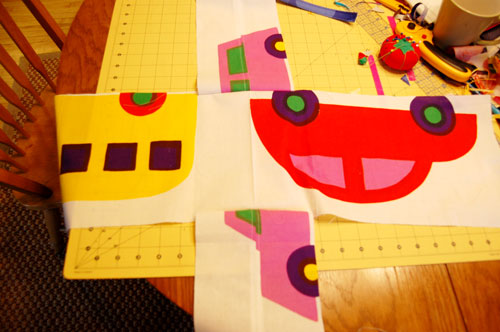
Step 4: Sewing the four walls of the bag. Now that the sides are already attached to the bottom, pin the edges of the bag together (right sides together). After sewing each of the four sides you’ll end up with a rectangular shaped bag like this (see photo).
Step 4 – Rectangular Bag
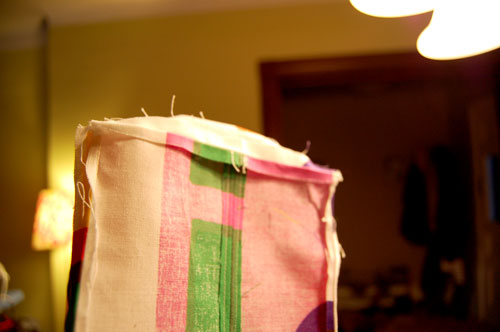
Step 5: Reinforcing the seams. Lunch can get heavy so to ensure that the seams don’t rip you’ll need to sew the seams down. Flip the bag right side out. Sewing as close to the seam as you possibly can, stitch the side seams and bottoms together. Attention: this can get tricky so pay extra attention when sewing this part.
Step 6: Sewing the handles. You’re almost done. Take the two handle pieces you’ve cut and fold them lengthwise and press. Unfold them; now fold each side (lengthwise) to the center crease you’ve just pressed. Fold once more lengthwise to enclose the raw edges inside. Press. Bring the ends together and sew to create a circle. Press flat. Now that you’ve created a reinforced handle, simply sew the side lengths together.
Step 6– Making handles
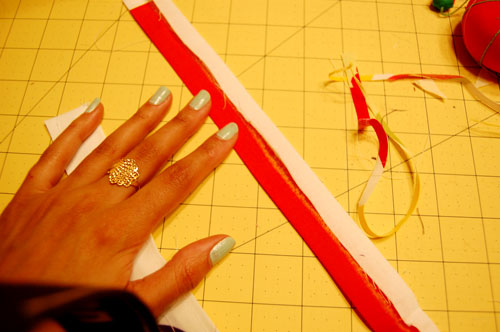
Step 6– Sewing the handles
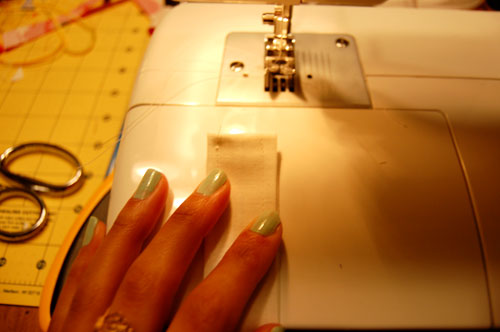
Step 7: Finishing the top of the bag: With the wrong side up, press a ½” seam around the entire top of the bag. Once complete fold the bag down 2 inches and press again to encase the top edge of the bag. Pin the handles to the inside of the bag. Now sew ¼” seam around the top of the bag. This will attach the handles. Sew another seam, but this time about 1-1/2 inches from the top. This will secure the top hem of the bag.
Step 7 – Pin the handles
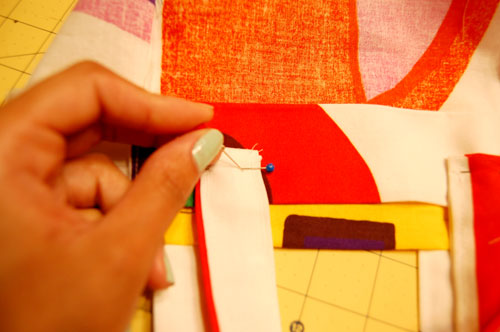
Step 7 – You’re done!
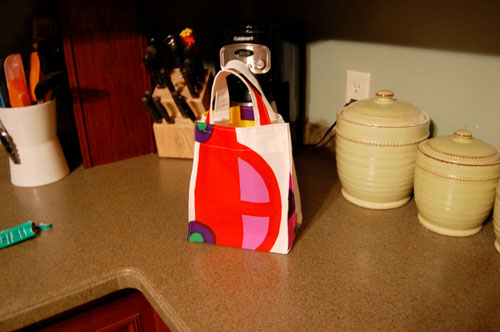
Whew, now you’re done and you can finally pack a lunch in your environmentally friendly and visually appetizing Marimekko Bo Boo Print lunch bag!


