At Marimekko, the journey of a new pattern from the designer’s sketch to a printed fabric takes about a year. Here is a look at the entire process at Marimekko. Enjoy!
01, 02, 03
“Erja Hirvi’s ‘Lumimarja’ must be the most memorable original design we’ve worked on. Erja couldn’t realize her vision on the computer, so she glued together her initial design from a bunch of branches and then came to us”, says Petri Justin, head of Marimekko’s artwork studio, as he recounts the history of this popular fabric.
In the artwork studio, the designer’s draft design is converted into a printable pattern. At the same time, the pattern’s color amount is determined. There can be 12 different colors. The artwork studio also transforms the designer’s original vision into a repeat pattern.

04
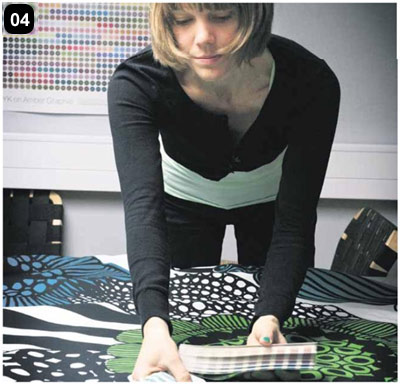
More blue! The red looks stuffy! The yellow is spot-on! The designer and collection coordinator search out the right colors.
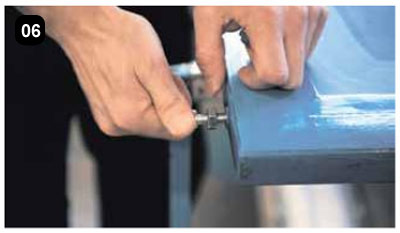
05, 06, 07
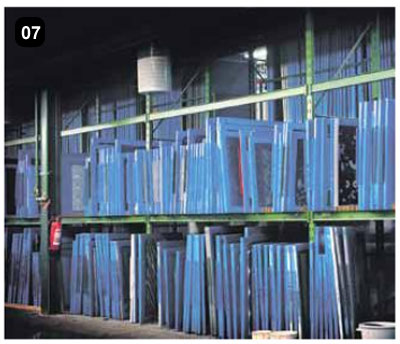
‘Unikko’, ‘Vermutti’, ‘Isot Kivet’, ‘Pienet Kivet’ – all designs are stored as blue screens on tidy shelves. From there, they are transferred to the printer. The final number of screens depends on the pattern’s complexity.
Jani Möller is preparing a printing screen based on the artwork studio’s color separation.
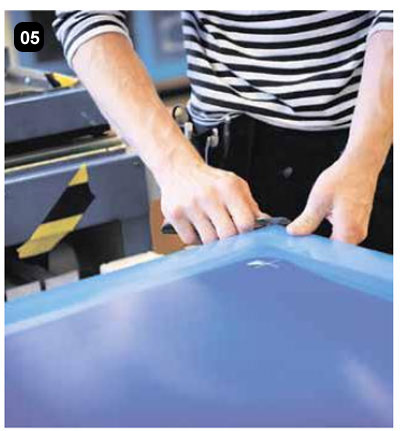
“A screen cloth is stretched over a steel or aluminum frame. A light-sensitive emulsion is then applied to the cloth, which is dried in an oven”, Jani says as he describes the screen-making process.
This calls for steady hands and a practiced eye. Every mistake in the screen is visible in the finished fabric.
An opaque wax is used to reproduce the design pattern on the emulsion, after which the screen is exposed to light. This makes the emulsion water resistant where there is no wax layer. The water soluble parts are then washed off the screen.
Once the screens are finished, the test print studio produces a prototype. The designer sees her design on fabric for the first time, after which she approves the final pattern.
When the pattern has been approved, the fabric printing process can begin in earnest.
08
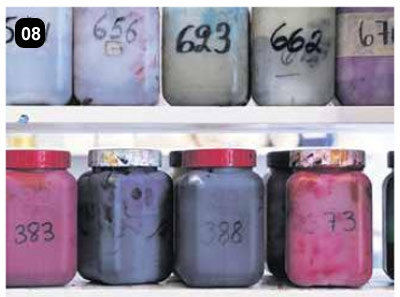
The printing machine’s colors are prepared in the color kitchen. The process is completely automatic; only a few colors are weighted manually.
09, 10
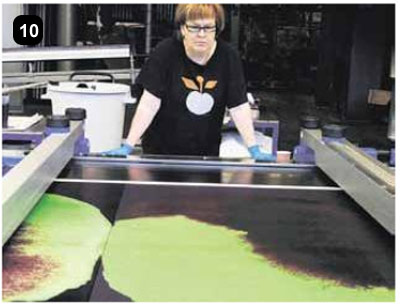
Hands, hands after all!
It’s the machine that prints the fabrics! You can print them anywhere! Not really. A team of eight runs the textile printer at Marimekko. Sometimes you need only two persons. But the ‘Ylailmoissa’ pattern requires the input of four-to-five professionals.
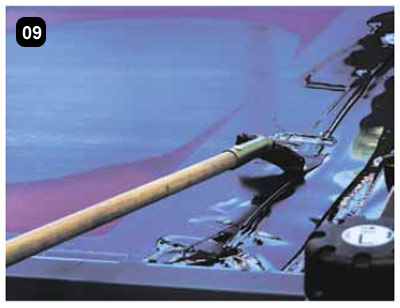
The color is pressed through the screen with a metal rod. Magnets under the black screen guide the rod. Once the color has been printed, the fabric is transferred to the dryer, where it is dried using air heated to 100° C.
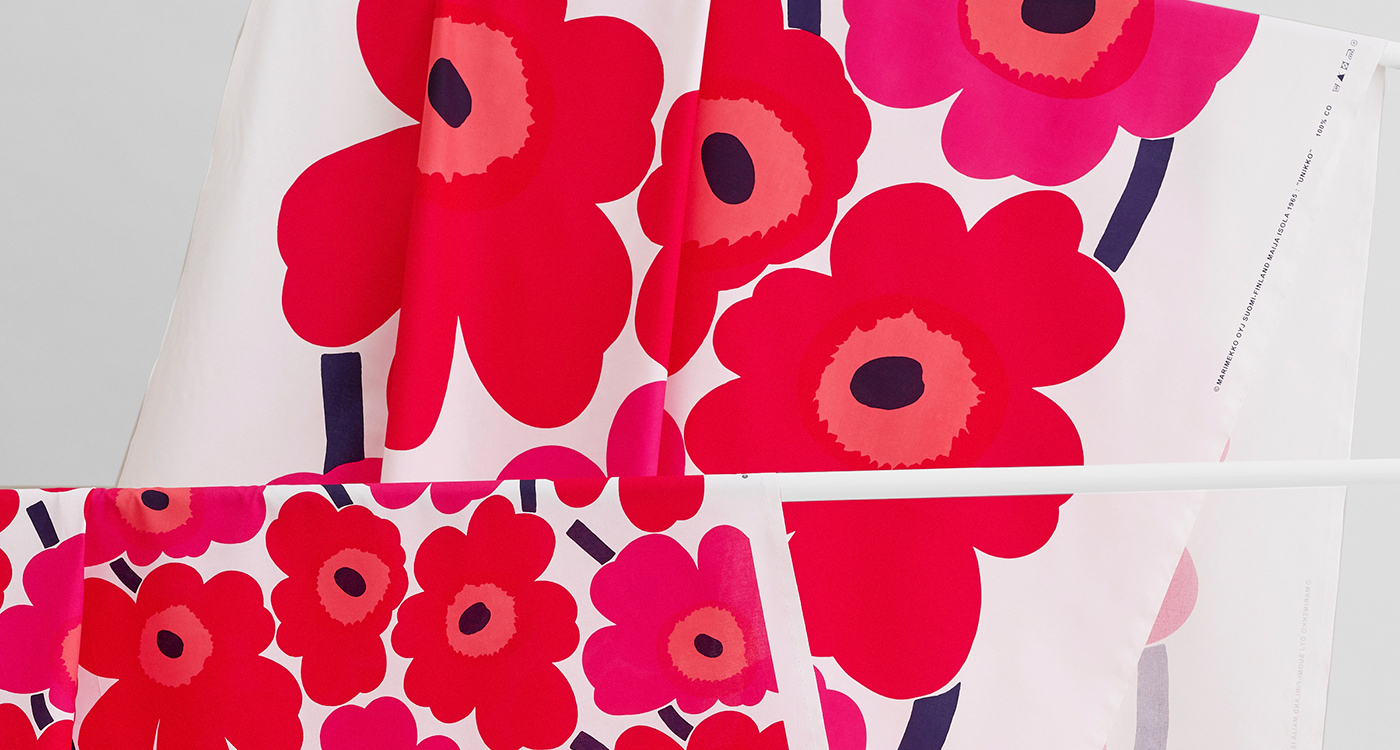
About 1.2 million meters of fabric is produced annually. That’s the story of ‘Unikko’ in the bold print.
11
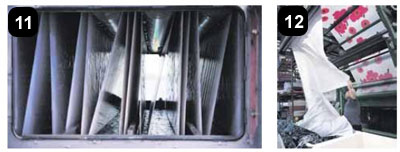
The color is fastened to the fiber with steam or heated air. Once the colors are fastened, the fabrics are washed in 95° C water. At home, you can wash the fabric at 60° C.
12, 13
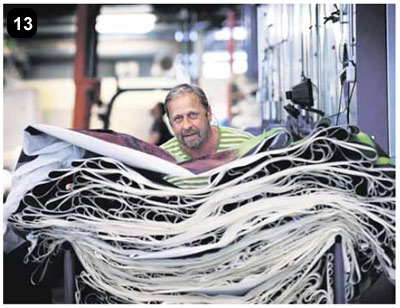
After the washing process is complete, the fabric is finished. Softening, Teflon, salt treatment, wrinkle-free treatment – there is so much to choose from.
14
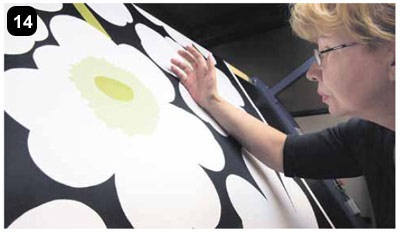
“A lot of fabric and things have rolled past my eyes over the years”, says Anja Lopes, who has worked for Marimekko since the times of Armi.
“This is like one big family”.
At the end of the printing process, Anja and her team inspect the fabrics and classify them by quality grades. A small percentage is second-rate quality. There can be only four small errors in a 15 meter bolt of fabric. The errors often are so small that an untrained eye cannot pick them out.
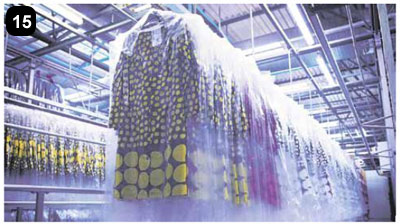
15
Into the shops.
Once the fabric is quality checked, it will be turned into garments, bags, cushions, duvet covers and other wonderful things.
——————
We hope you enjoyed this journey from sketch to finished product. Looking for Marimekko products? Shop our huge selection of Marimekko.
*Please credit the Marimekko Blog with a link if using any of the above.

