A quick and easy way to update a room without breaking the bank or dipping too deep into your pockets is re-upholstering. You can re-dress your dining room chairs, couch cushions, throw pillows, vanity benches, or even doggie beds for just a little bit of money and suddenly everything looks fresh and new.
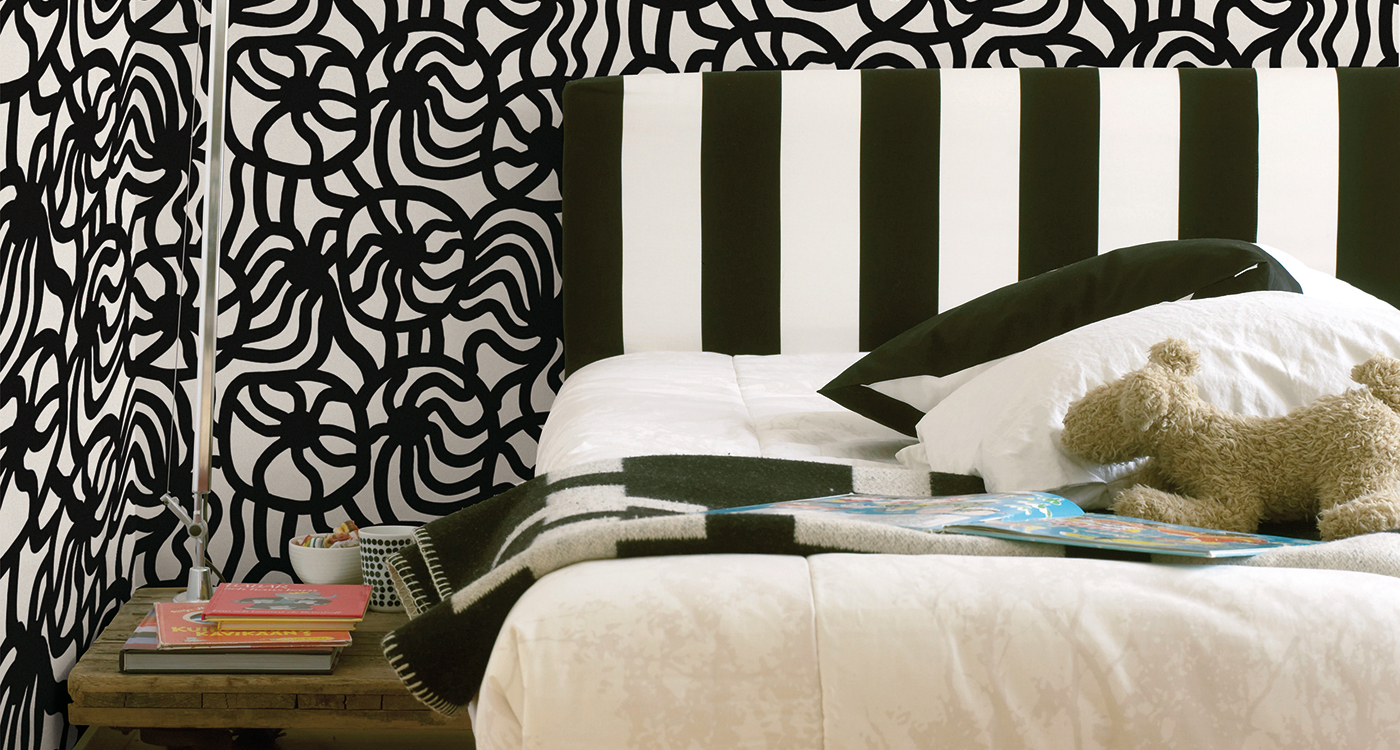
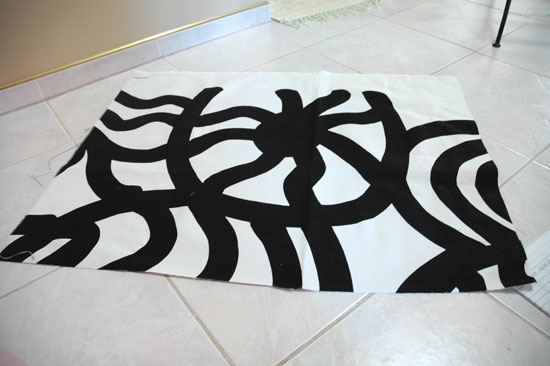
To update my new apartment furnishings without spending a fortune, I chose to re-vamp an old vanity bench from a vintage, country floral print to the mod looking Marimekko Joonas pattern. Designed by Maija Isola in 1961, this bold black and white print is just what my old bench needed to liven it up and really put an emphasis on the lines and curves of its frame.
For this project I needed just a few things:
-fabric: a little less than 1/2 a yard, but that can vary depending on the size of what you’re working with.
-scissors
-a screwdriver
-a staple gun
-and of course, something to upholster
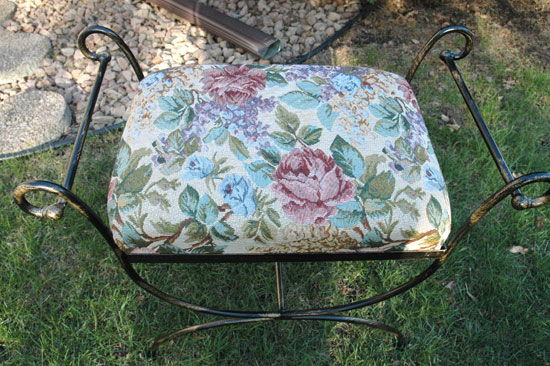
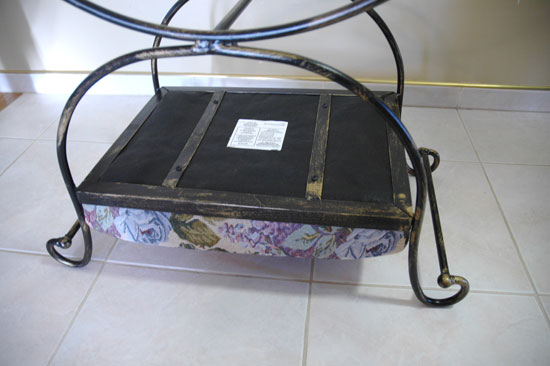
First I started with my bench, in good condition, just lacking in the look I wanted. I flipped it upside down and unscrewed the seat from its base. (It might help to mark where the screws go in, for when you replace the seat- I forgot to do that, and had quite a time getting the seat back in.)
The bench before, pre-Joonas:
Flipped upside down:
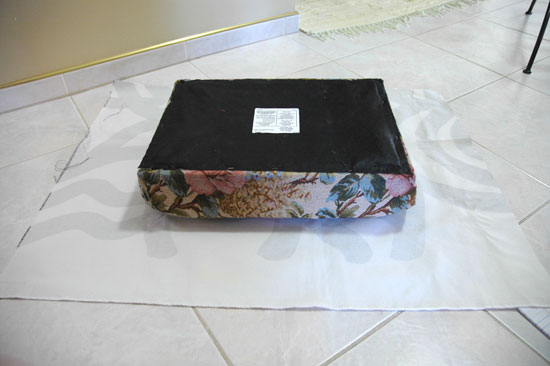
Once the seat was detached, I laid it out on top of my fabric, trying to line it up with the area of the pattern that I wanted to cover the seat. With the Joonas print, I wanted one of the circles to be the main focus of the bench, so that’s where I lined up my seat.
Laying out the fabric:
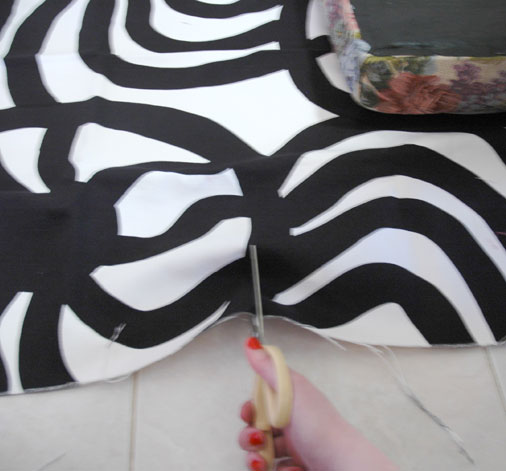
Making the cut:
Next, I turned the fabric around, so that the print faced outward, and lined up the seat in the center.
Turn around and line it up in the center:
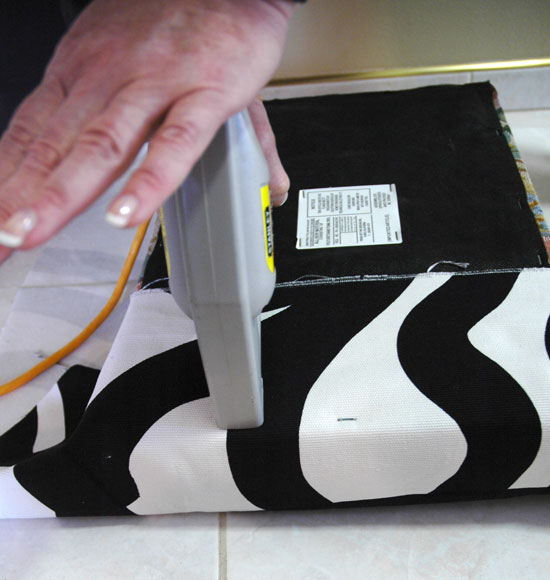
Then came the fun part. I pulled up one side of the fabric and used the staple gun to fasten it to the stool’s seat.
Stapling the sides:
Once that was done, I turned the stool around and pulled the fabric tight, stapling the opposite side of the one I just did. (At this point, you can flip the seat over to check your progress, and see if you pulled the fabric tight enough.)
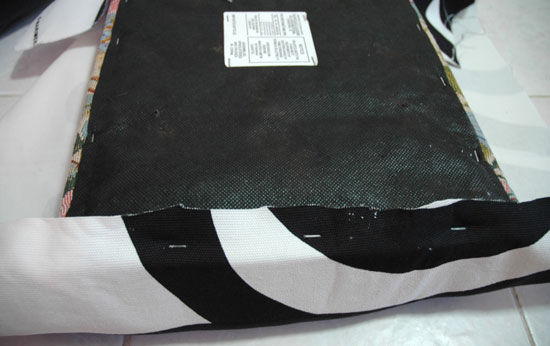
Next, I cut off some of the extra fabric from the sides that had been stapled, leaving about 1.5” of fabric after the staples. (See picture for example)
Stapled sides with extra trimmed away:
Next, I picked one corner to fold in and up, then staple – similar to wrapping a present.
Stapled corners:
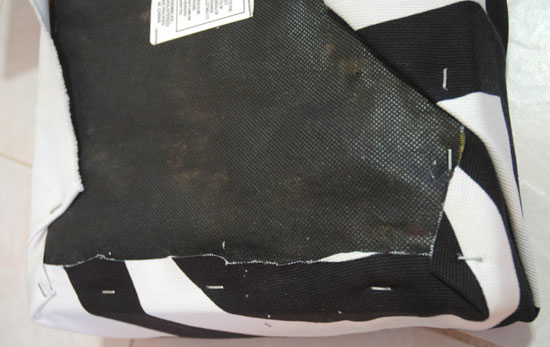
Stapled corners (again):
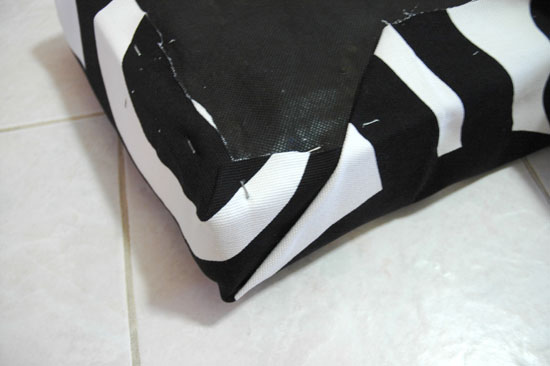
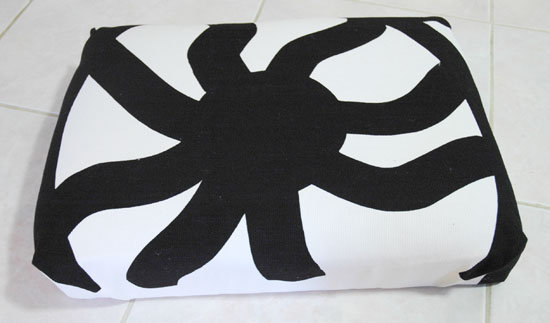
Once that corner was done, I did the next corner on the same side of the seat. Then, I tightly folded up the remaining fabric between those two completed corners, making sure to smooth out and creases, and stapled. I repeated this on the other side, and my project was almost complete.
Finished cushion:
Finally, I screw the seat back into its base, and voila!
Finished Joonas bench!
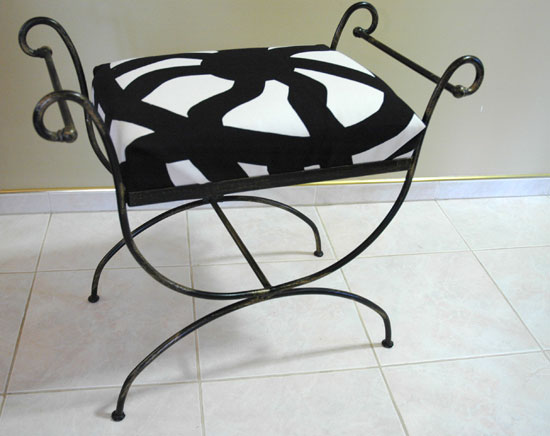
Finished Joonas bench, from the top!
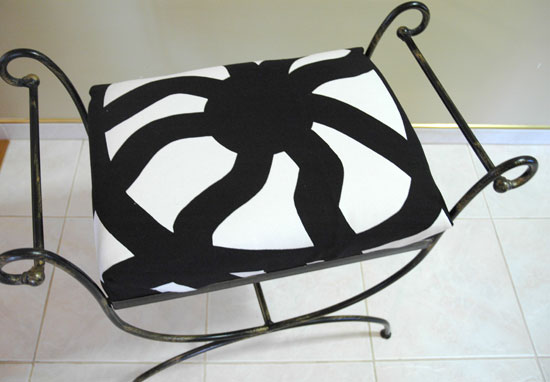
A brand new bench with a print that mimics the curves of its base, all done in less than an hour.
If you’re inspired by this project, let us know! We’d love to see what you create!
We’ve got a whole bunch of upholstery fabric for you to work with, see our selection here.

