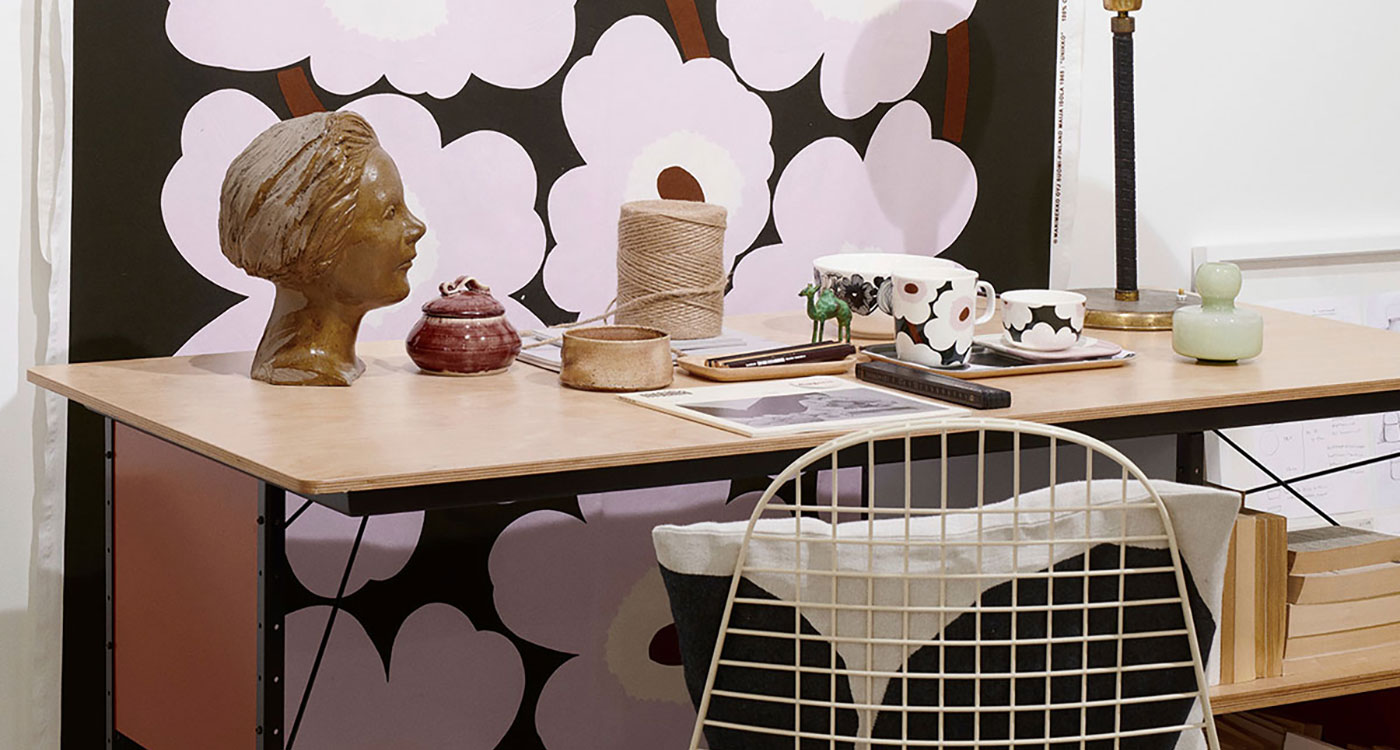
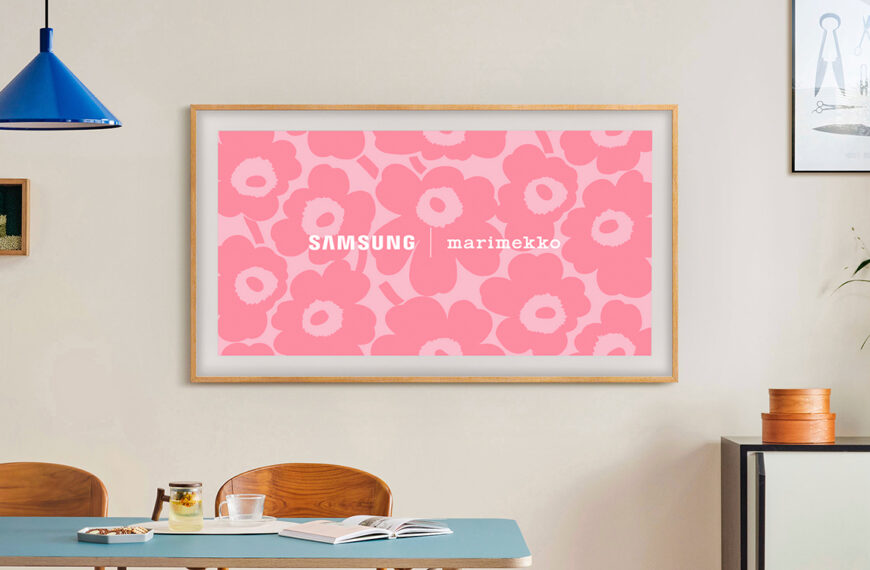
Marimekko fabrics are considered by many as artwork. So, how do you bring this “art” into your home? One great way is to create wall hangings. Using fabric as wall art is an inexpensive way to create large pieces to decorate your walls.
Below is a step-by-step guide showing you how to create your very own wall hangings from Marimekko fabric.
What you need to get started:

Step #1: Frame Assembly
Slide the notched ends of the stretcher bars into place to make each corner a tight 90 degree angle. Use a hammer to tap the corners into place. You may use wood glue or multi-purpose glue if desired to further secure your frame.
Step #2: Fabric Preparation
Iron folds or creases on the fabric’s reverse side. Use as low of a temperature setting as possible if your fabric has a metallic sheen. (Test the iron temperature on an unseen portion of the fabric.)Lay the fabric face down on a table and place the assembled frame on it to center the pattern as you choose. Cut off excess fabric at this point, keeping an extra 2 inches of extra fabric on each side of the frame.

Step #3: Stapling
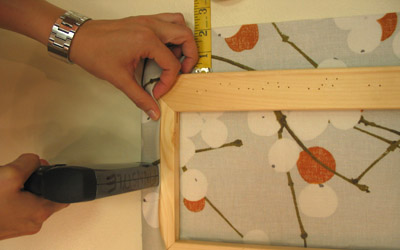
Start at the center of each side, stapling in 4 or 5 inch sections at a time. Pull/stretch the fabric quite tightly when stapling. (We recommend folding the fabric under so that you will staple through two layers of fabric. Since you have allowed 2 inches of fabric on each side of the frame you have enough fabric to create this fold-under.)Space staples about 2 inches apart, working your way toward the corners.
If you notice that your fabric is too loose, carefully pry staples free with a flat-head screwdriver. Re-staple, pulling more tightly.
Step #4: Corners
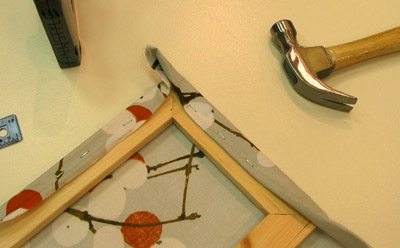
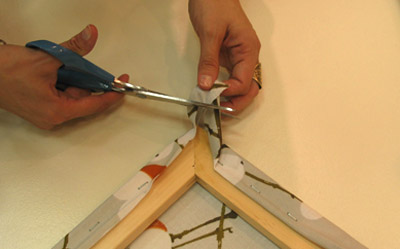
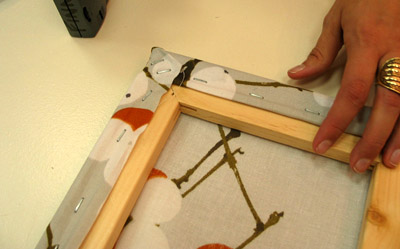
We recommend cutting off the fabric corners’ tips so you will have less material to staple through. Fold the fabric “hospital corner” style with a tight triangular fold to create a flat and unpronounced edge of fabric. Staple to secure.Corners can be difficult if you have never done them before, but remember that the goal is to make it look good from the front and sides. It will not matter what the wall hanging looks like on the side that will face the wall.
Step #5: Finishing Touches
Hammer in any staples that didn’t sink deep enough into the wood.Screw in the eye hooks about 1/3 of the way from the frame’s top, one on each side. Cut wire slightly longer than the width of the frame. Attach wire to hooks by looping the wire ends through the hooks once or twice and then by twisting the wire together.
Make sure that the wire is not visible above the frame.
Consider mounting your finished wall hanging on two nails rather than one. It will be easier to straighten when it’s on the wall.
Good luck! We’d love to see how your project turned out. Let us know.

